
Gardening in California is awesome… and tricky. Long dry summers, water restrictions, and different climate zones mean you can’t garden here the same way you would in wetter states. The good news? You can grow a productive vegetable garden that uses less water, thrives in the heat, and still looks great.
The key is smart prep, good soil, and choosing drought-tolerant vegetables paired with California native or low-water companion plants.
Let’s break it down step by step.
Why Drought-Tolerant & Native Gardens Work Best in California
California native plants evolved to survive:
- Little rainfall
- Long dry seasons
- Poor or compacted soils
Vegetables aren’t native, but many are naturally drought-tolerant once established. When you mix those veggies with native or low-water plants, you get:
- Better soil health
- Fewer pests
- Less evaporation
- Lower water bills
It’s a win all around.
Best Drought-Tolerant Vegetables for California
These veggies handle heat and low water surprisingly well:
- Tomatoes (especially Roma & cherry types)
- Peppers
- Eggplant
- Zucchini & summer squash
- Okra
- Swiss chard
- Kale
- Beans (pole beans do especially well)
- Sweet potatoes
Once established, these crops prefer deep, infrequent watering—perfect for California summers.
Native & Low-Water Companion Plants to Add
Native and drought-tolerant companions help shade soil, attract pollinators, and reduce pests.
Good options include:
- California poppy
- Yarrow
- Native sage
- Lavender
- Cleveland sage
- Buckwheat
- Rosemary
- Thyme
Plant these around the edges of your vegetable beds or between rows.
How to Prep the Soil for a California Vegetable Garden
Time needed: 2 days and 10 minutes
Healthy soil is everything, especially in dry climates.
- Clear the Area (30–60 minutes)
Start by clearing the garden area of weeds, grass, and surface debris so your plants don’t have to compete for nutrients or water. Take the extra time to dig out roots completely, especially perennial weeds, since they can quickly grow back.
- Test the Soil (15 minutes)
Before adding anything to the soil, run a quick test using a basic soil test kit. Most California soils tend to be low in organic matter and slightly alkaline, which can affect how nutrients are absorbed by plants. Knowing your soil’s condition helps you decide how much compost or soil amendment is needed to create a healthy growing environment.
- Add Organic Matter (1–2 hours)
Once you understand your soil’s needs, begin adding organic matter to improve fertility and moisture retention. Spread two to four inches of compost across the surface, incorporating aged manure if you have it, and adding worm castings when available. This step is especially important for drought-tolerant gardens, as organic material helps soil hold water longer between irrigations.
- Loosen and Mix the Soil (30–60 minutes)
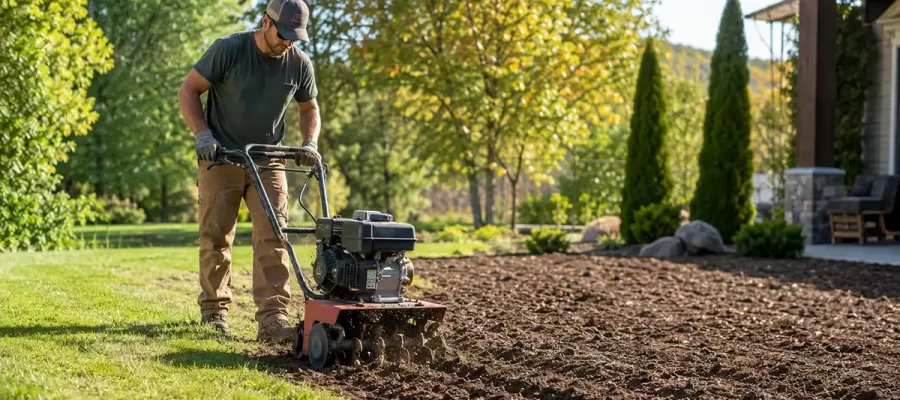
Gently loosen the soil to a depth of about eight to twelve inches, working the compost evenly throughout the planting area. Learning how to rototill may be helpful at this stage. The goal is to create a soft, well-aerated soil structure without overworking it.
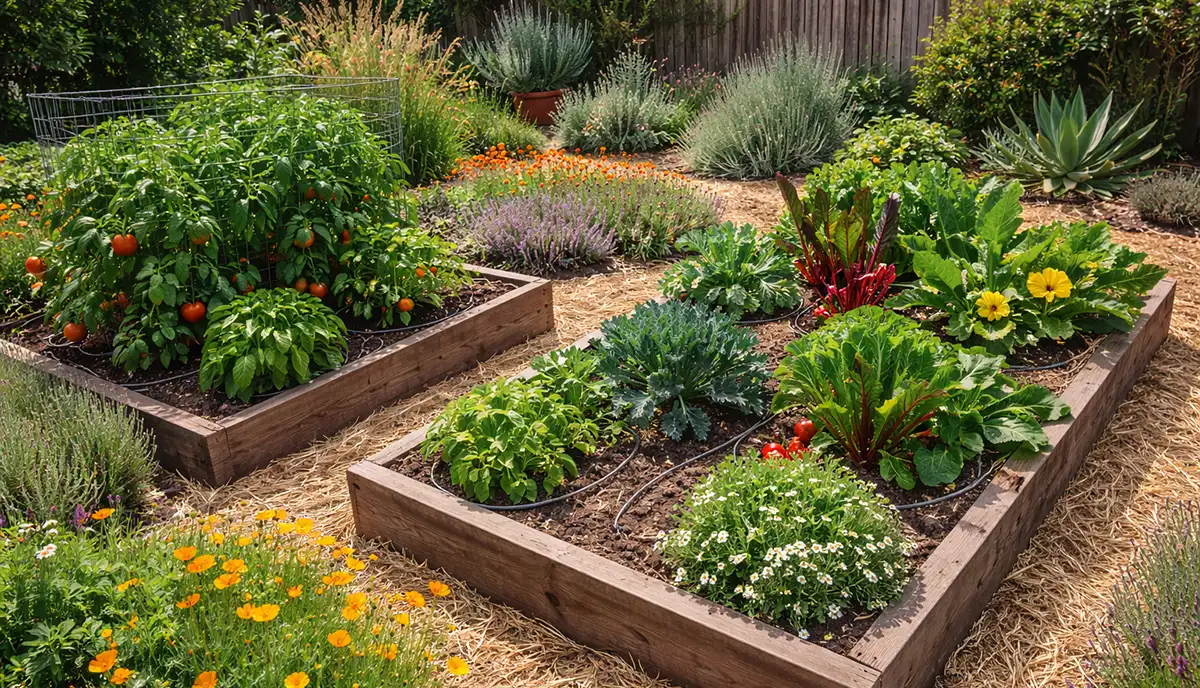
- Shape the Garden Beds (30 minutes)
After mixing the soil, shape your garden beds to prepare for planting. Raised or slightly mounded beds work best in California gardens because they improve drainage while still allowing the soil to retain enough moisture. Well-shaped beds also help keep irrigation efficient and plant roots healthy.
- Water and Let the Soil Rest (1–4 weeks, optional)
Finish by watering the soil deeply to help everything settle into place. Allowing the soil to rest for a week or longer gives moisture time to distribute evenly and activates beneficial microbes that improve soil structure.
Best Garden Layout for Water Efficiency
- Group plants by water needs
- Place taller plants on the west side for shade
- Use drip irrigation or soaker hoses
- Mulch heavily (this is non-negotiable)
Mulching: The Secret Weapon
Use:
- Straw
- Bark mulch
- Wood chips
- Leaf mulch
Apply 2–4 inches deep around plants. Mulch:
- Reduces evaporation
- Keeps soil cooler
- Prevents weeds
- Improves soil over time
Watering Tips for California Gardens
- Water early morning
- Deep water 1–2 times per week
- Avoid daily shallow watering
- Check soil moisture before watering
Once established, drought-tolerant vegetables actually perform better with less frequent watering.
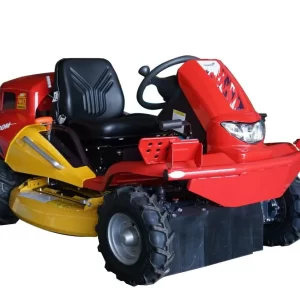
Recommended Gardening Equipment Rentals in California
-
4AH X1 Trimmer Rental
$50.00 -
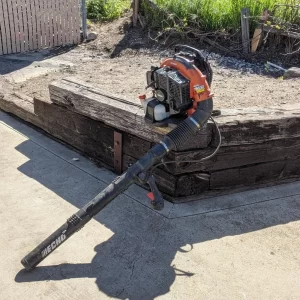
Backpack Leaf Blower Rental
$40.00 -

Billy Goat Brush Cutter Rental
$175.00 -
Brush Rover / Weed Mower Rental
$350.00 -

Cheetah Rental
$65.00 -
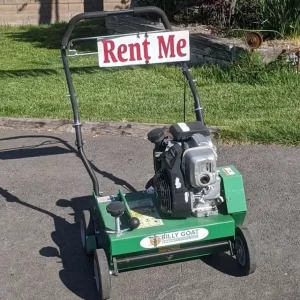
Dethatcher Rental
$85.00 -
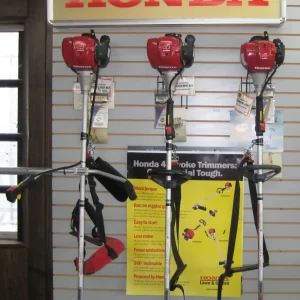
Gas Trimmer Rental
$40.00 -
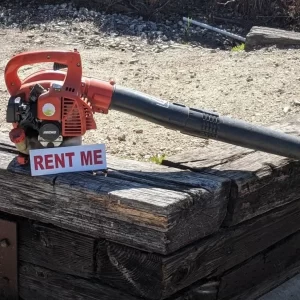
Handheld Leaf Blower Rental
$25.00 -
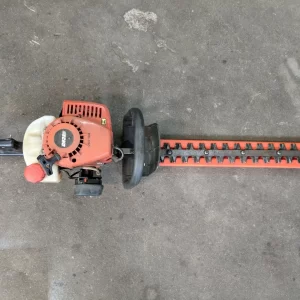
Hedger Rental
$45.00 -
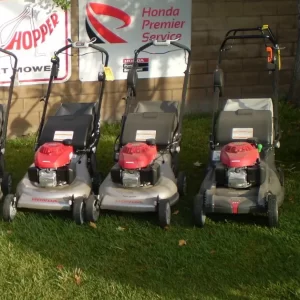
Honda Lawn Mower Rental
$50.00 -
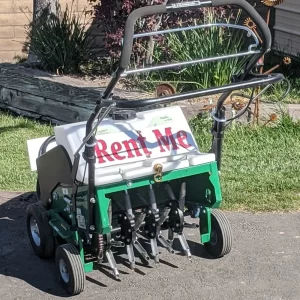
Lawn Aerator Rental
$115.00 -

Medium Rototiller Rental
$75.00
FAQs: California Drought-Tolerant Vegetable Gardens
Can vegetables really be drought-tolerant?
Yes. Many vegetables adapt well once established, especially when mulched and deeply watered.
Are native plants safe to plant near vegetables?
Absolutely. Native plants attract beneficial insects and improve soil health.
Do I need raised beds in California?
Not required, but raised beds improve drainage and soil control—especially in clay soils.
How much water does a drought-tolerant garden need?
Much less than traditional gardens—often 30–50% less when properly mulched and irrigated.
When is the best time to start a vegetable garden in California?
Spring and fall are ideal, but many areas allow year-round gardening.
What’s the biggest mistake California gardeners make?
Overwatering. Too much water leads to shallow roots and weaker plants.
Final Thoughts
Building a vegetable garden in California doesn’t mean fighting the climate—it means working with it. With smart soil prep, drought-tolerant vegetables, and native companion plants, you can grow a productive, beautiful garden that thrives even in dry conditions.
Less water. Healthier plants. Better harvests.
Related Posts